
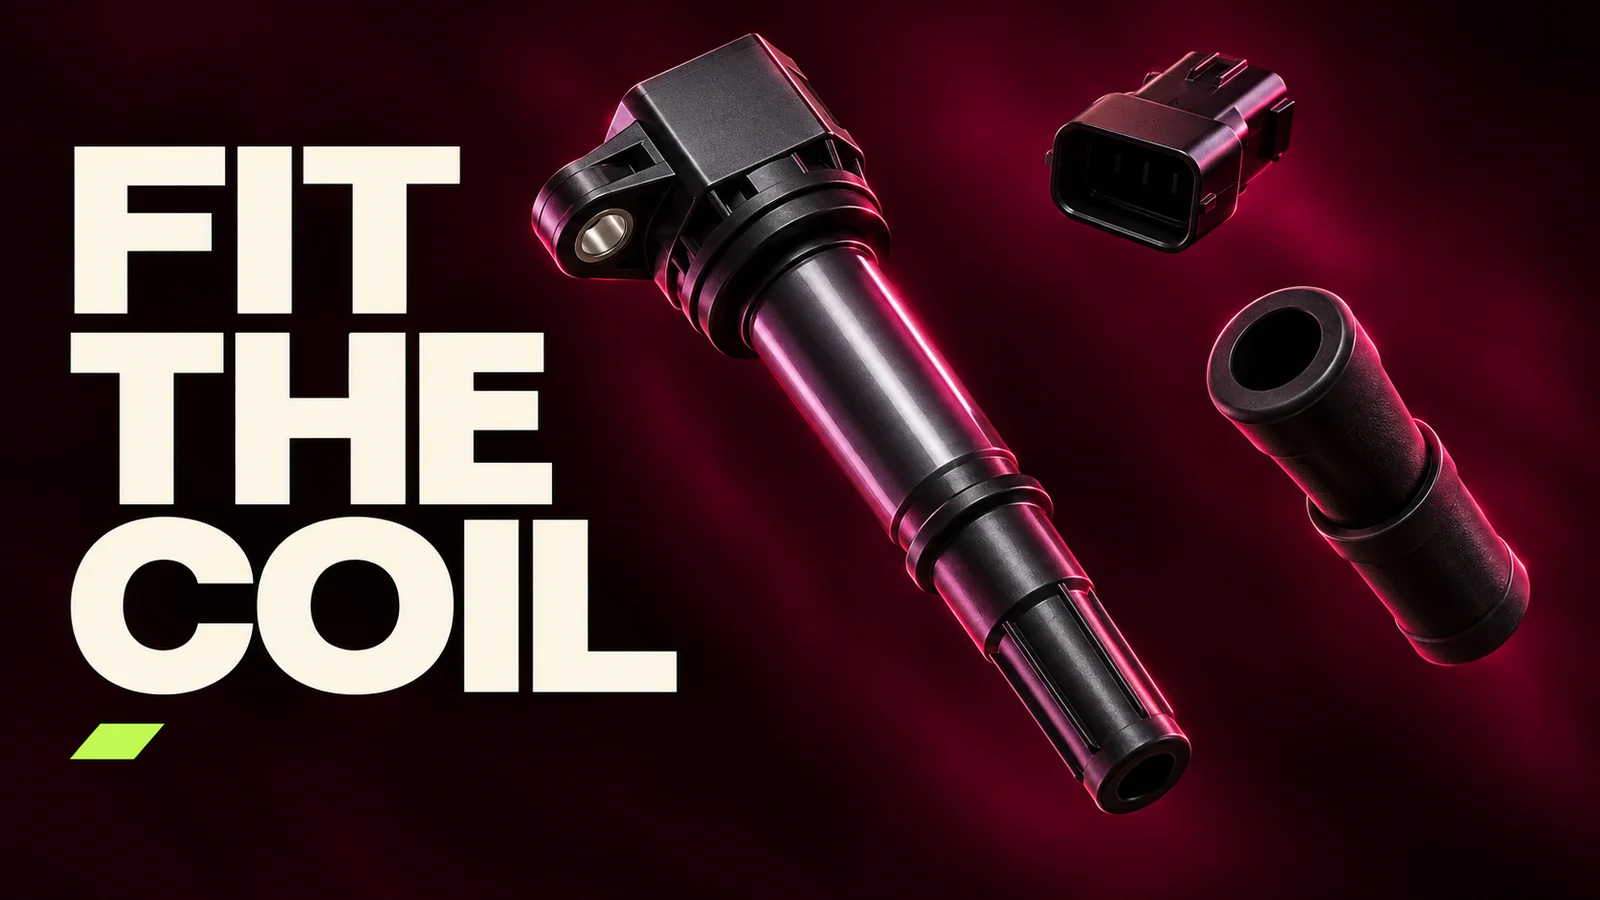
This guide is a purchasing checklist for MAKEXCAR's current Ignition Coils category. It does not provide a universal wiring diagram or assert that a pictured coil fits a particular vehicle. Each pin function, dimension and application needs part-specific evidence.
Start with an exact vehicle and coil identity
Record the destination market, make, model, production date range, engine code, cylinder arrangement and ignition-system type before comparing parts. One model name can use different engines or ignition architectures. NGK's official coil overview distinguishes coil-on-plug pencil coils, rail coils and other configurations. This taxonomy shows why “ignition coil” alone is too broad for an order. Use the vehicle's OE catalog and service information to determine the actual part family.
Capture the OE number from the removed unit or a verified catalog, including suffixes and supersessions. Then record the offered MAKEXCAR SKU, drawing revision and seller cross-reference. If the OE reference came from a broad internet listing, mark it for confirmation. A cross-reference is a starting point, not proof that connector keying, boot reach, mounts and control interface match every variant in a model range.
State the installed location. A coil-on-plug engine may use a particular bank or position; a rail coil has an entire assembly footprint and plug spacing to consider. Do not assume every cylinder uses the same offered part without a confirmed application listing. Photograph the existing unit with its label, terminal face, mounting ears and boot. That gives the supplier a reference beyond a vehicle description.
Confirm the connector before discussing pinout
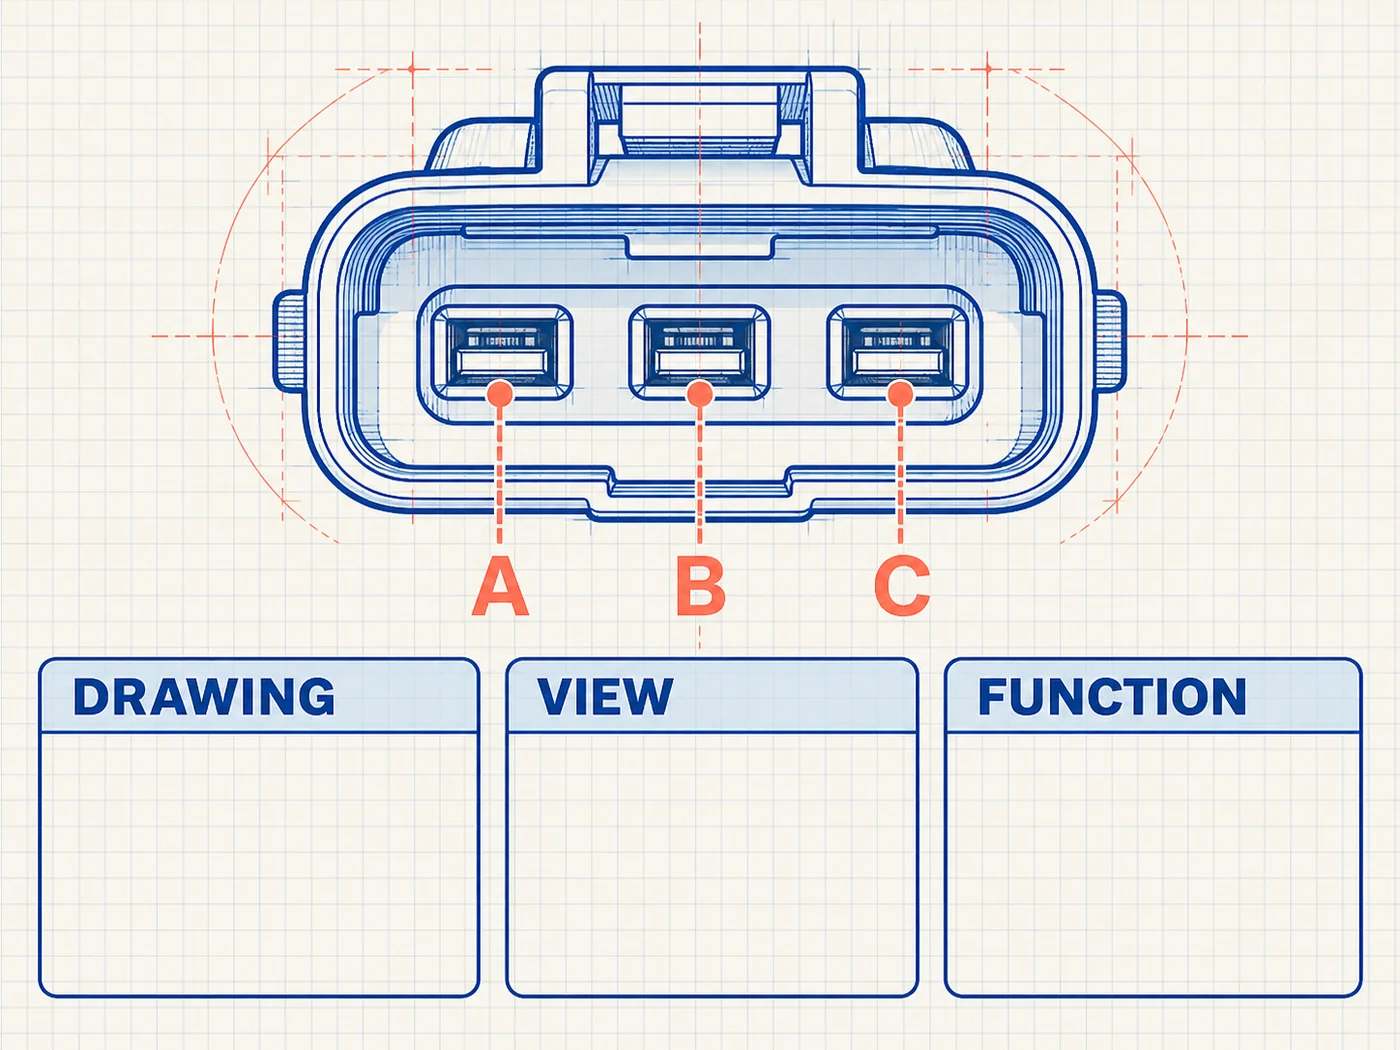
Compare the connector housing from both the mating face and harness side. Label which view is shown, because a mirrored photograph can reverse apparent terminal order. Record cavity count, shape, keying ribs, latch position, seal location and whether the harness plug fully engages the proposed coil. Two connectors may have the same number of cavities but different keying or terminal geometry. A connector that slides on without positive retention is not sufficient evidence of fit.
Pinout is the function assigned to each terminal, not simply its position in a plastic housing. Ask for the approved pin-identification view and function table tied to the exact coil SKU and vehicle circuit. A system may have supply, ground, control or feedback functions, but this article assigns none of those functions to a terminal. Only a part-specific supplier drawing and the vehicle service diagram can justify an electrical conclusion. Do not connect a test harness by matching wire colors or a generic image.
Check whether the connector includes a seal, locking tab or secondary retainer and whether those parts belong to the vehicle harness rather than the supplied coil. If a sample has a different housing revision, request the supplier's documented interchange explanation. Even a physical connector match does not prove that the internal coil design or control logic is compatible. Mechanical and electrical approval are separate steps.
Check mounting geometry and engine clearance
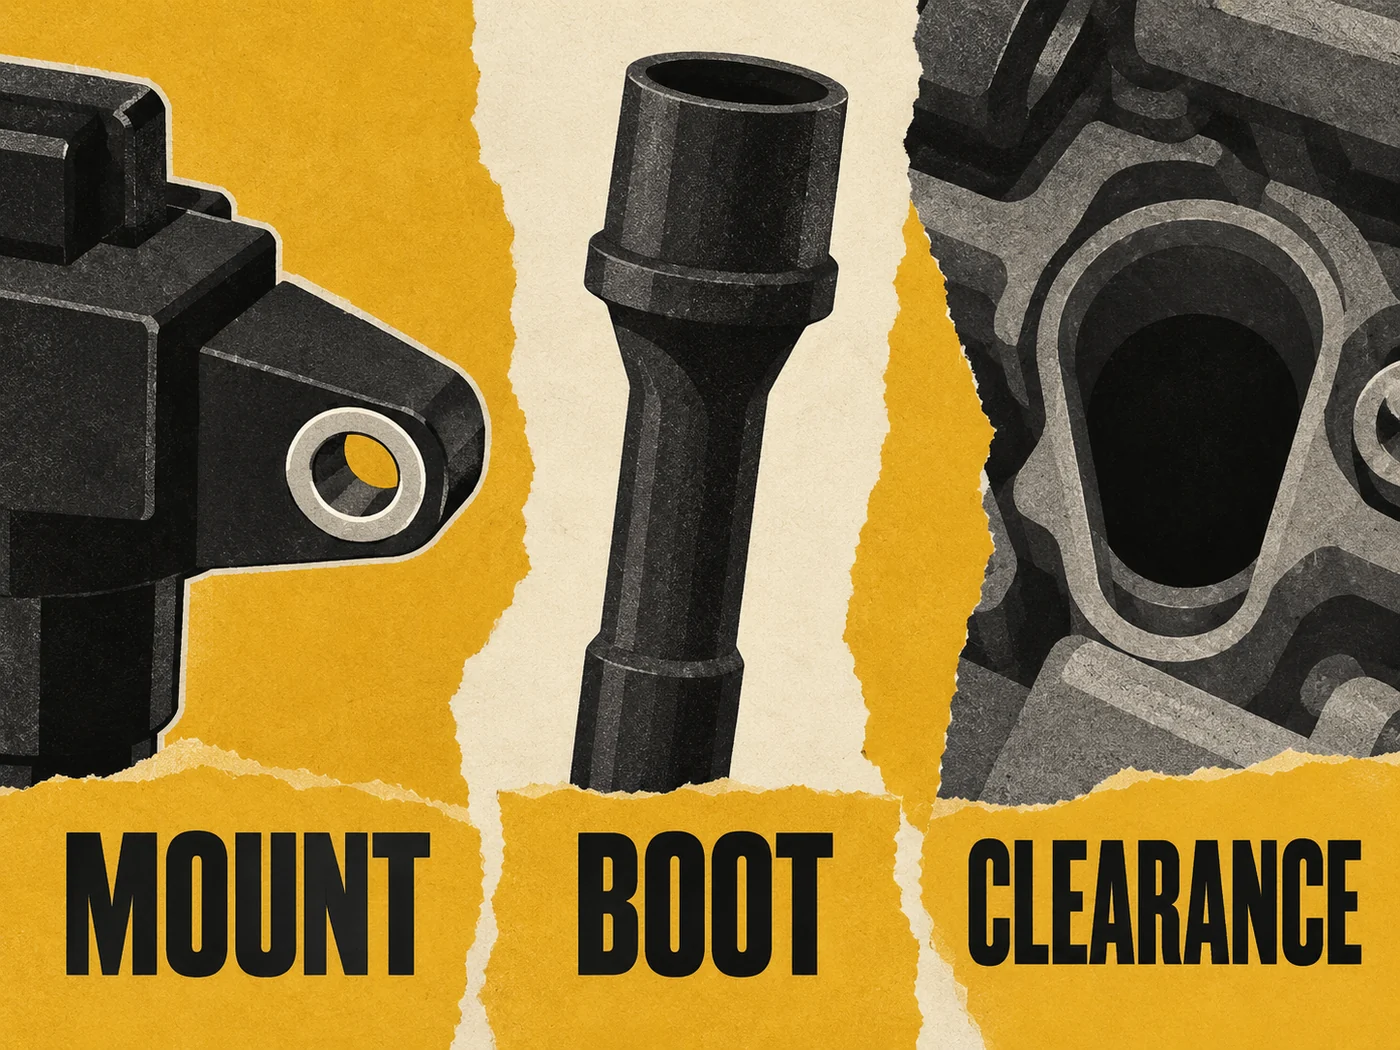
Record the number and location of mounting ears, hole spacing, fastener access and the relationship between the coil body and plug-well centerline. A pencil-coil silhouette hides small differences in neck offset or bracket shape. Ask for dimensioned views with a stated datum and drawing revision. Where a coil uses an independent bracket, establish whether it is supplied, reused or ordered separately.
Review installed space around the coil. Covers, intake parts, fuel-system components or neighboring harness routes can limit clearance even when the main bolt hole aligns. A sample should be assessed in the target engine bay under the proper service procedure by a qualified technician. The buying record can identify interference points without inventing a universal clearance or mounting-torque number.
A mounting tab that can be forced into position is not a correct fit. Avoid enlarging a hole or stressing the housing to make a sample seem compatible. If the proposed unit sits at a different angle, ask whether that is an approved design change and how boot contact and harness reach were checked. Document the answer against the specific SKU rather than treating a photograph as engineering approval.
Measure boot reach and the spark-plug interface
The boot links the coil to the spark plug and forms part of the high-voltage path. NGK describes the coil, boot and plug as a single circuit in its official coil guidance. For fitment, compare boot length from a clear datum, internal contact arrangement and plug-well depth. A boot that is too short may not reach the plug terminal; one that is too long or differently shaped may prevent the coil from seating. These are fitment concerns, not a diagnosis of any MAKEXCAR part.
Ask whether the boot is supplied preassembled, supplied separately or intended to be transferred from the old coil. An exterior photograph does not show the internal spring or contact. If the service plan relies on transferring a boot, confirm that the maker supports that arrangement for the exact SKU. Do not assume that a boot from a similar coil will attach securely or place the contact in the correct position.
Record the spark plug type or OE reference and terminal style from vehicle documentation. Plug seat and reach are separate specifications for the plug itself, while the coil boot must mate with its top terminal. If an aftermarket plug is installed, verify that its terminal configuration is appropriate for the ignition system. A close external boot diameter does not prove electrical contact.
| Fitment gate | Evidence to request | Reason to hold approval |
|---|---|---|
| Application | Market, production range, engine code, OE reference, seller SKU | Vehicle description is too broad |
| Connector | Mating-face and harness-side views, keying, latch | Housing or retention differs |
| Terminal functions | Part-specific pin view and vehicle circuit reference | Function inferred from cavity count or color |
| Mounting | Dimensioned tab and body views with datum | Bracket or bolt pattern unverified |
| Boot | Length, contact style, supplied-parts list | Plug reach or package scope unclear |
| Clearance | Sample check in target engine configuration | Housing or harness interference |
This table is a purchasing question framework, not a claim that every coil has the same features. The supplier should mark each field confirmed, excluded or pending for the exact SKU. A “fits same engine family” statement needs a relevant application listing and design record.
Separate a visual match from an approved sample
Use the approved reference unit and a controlled checklist for sample comparison. Photograph both parts in the same orientation, including labels, connector faces, mounting faces, boot ends and overall profiles. Write down the measuring datum. “Same length” is ambiguous if one person measures the boot alone and another includes the housing. Record any difference before a sample is installed.
For electrical compatibility, obtain the maker's designated test procedure and vehicle service information. Do not apply power, probe high-voltage outputs or improvise a wiring adapter from this article. NGK's catalog and product material illustrate application-specific part documentation, but they do not describe MAKEXCAR's terminal assignment. Require the actual offered SKU's pin information.
After a qualified installation assessment, note connector retention, body seating, mounting stress and boot engagement without drawing conclusions from appearance alone. If the engine reports a fault, retain diagnostic codes and conditions separately from the fitment checklist. A misfire can have several causes; a fault after installation does not by itself prove a coil defect or an incorrect fit. Keep diagnosis and purchasing approval distinct.
Handle supersessions and alternative offers carefully
If a supplier proposes a replacement number for a discontinued OE coil, request the supersession chain and changed features. A newer part may have a revised boot, connector seal, mounting ear or internal design. A supported supersession may be valid, but the buyer still needs documentation showing why the offered configuration fits the target application. The seller's cross-reference should name the exact OE number rather than a broad make and model.
For two alternative offers, compare the same evidence fields side by side. A lower-priced coil excluding a boot or using a different connector may not be a like-for-like quotation. Ask whether extra parts are required and whether the purchase order names them. If both offers appear identical in photographs, request separate drawings and traceable identifiers. Catalog photos are useful for orientation but weak as a sole part identifier.
Keep market and production boundaries visible in the RFQ. A vehicle badge can represent different engine-control or harness versions across regions and years. Request the application source and revision date. If a supplier cannot show a relevant listing, leave the offer pending rather than broadening a narrow match into a universal one.
Frequently asked buyer questions
Does matching the number of connector pins prove compatibility?
No. Cavity count says nothing by itself about keying, terminal shape, retention or electrical function. Ask for a labeled mating-face view, part-specific pin-function table and corresponding vehicle circuit reference. This article intentionally provides no universal pin assignment.
Can a coil with the same OE cross-reference have a different boot?
It can be offered with a different assembly scope or revision. Check the actual SKU. Confirm whether the boot and contact are included, how dimensions are defined and whether a change is documented. A cross-reference should trigger verification, not close it.
Is a mounting-hole match enough for sample approval?
No. Review body envelope, connector orientation, boot reach, plug contact and surrounding clearance. A part that bolts down but stresses its housing or does not seat correctly is not approved by the hole alone. Use the target vehicle and controlled drawings.
Send a complete ignition-coil RFQ
When reviewing MAKEXCAR Ignition Coils, send the destination market, make, model, production date, engine code, OE reference, installed position, target quantity and clear photographs of the old unit. Request the offered SKU, application source, terminal-view drawing, documented pin functions, mount dimensions, boot and contact details, and package-content list.
Use the contact page to ask for a part-specific quotation or sample. Approve the coil only after the application and every mechanical and electrical interface are supported by appropriate documentation. That prevents a familiar silhouette or broad catalog phrase from becoming an unsupported fitment decision.

